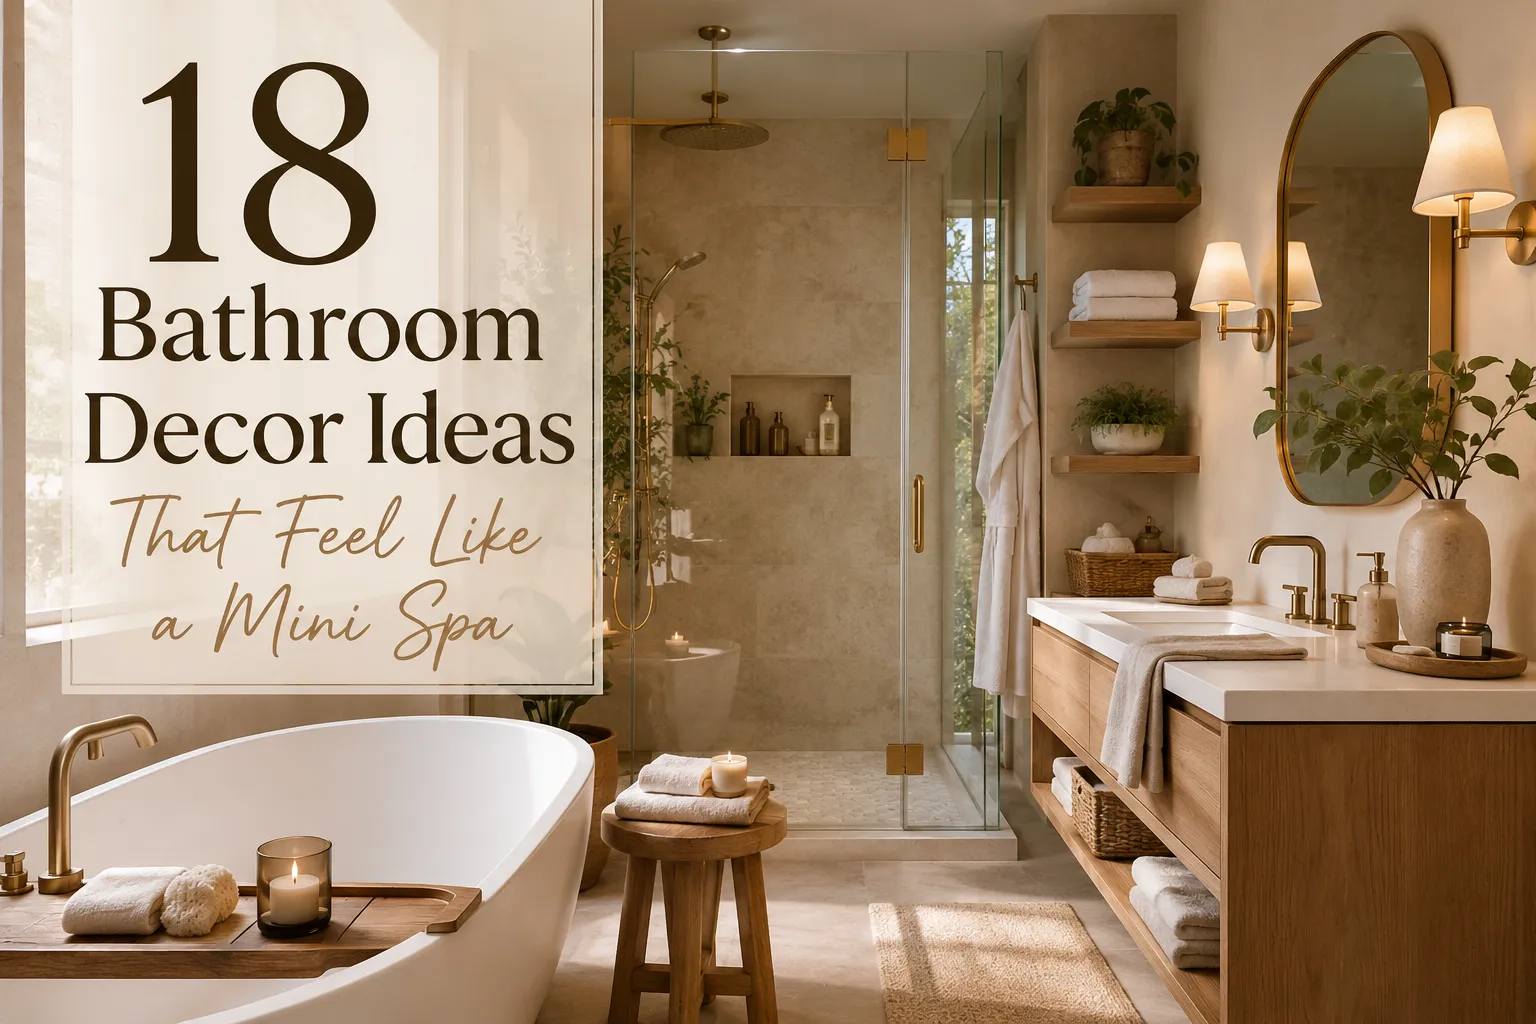
18 Bathroom Decor Ideas That Feel Like a Mini Spa
Turning an everyday bathroom into a spa-like retreat doesn’t require a full renovation, a designer’s budget, or months of planning. It starts with a handful of intentional choices — the right texture underfoot, warmer light after sunset, a decluttered countertop — that quietly change how the room feels every single time you walk in.
This guide covers 18 bathroom decor ideas built around the core principles of spa-inspired design: warm neutral colors, natural materials, soft layered lighting, and thoughtful storage. Whether you’re working with a small guest bathroom, a primary ensuite, or a rental where big changes aren’t an option, you’ll find practical ideas here that scale to your space and budget. Each section breaks down not just what to add, but how to style it so the result feels calm and cohesive rather than cluttered or themed.
If you’ve been searching for spa bathroom decor ideas, a small bathroom spa makeover on a budget, or simply ways to make your bathroom feel more like a retreat, this list is organized to help you find quick wins first and bigger upgrades as you’re ready for them.
1. Warm Neutral Color Palette
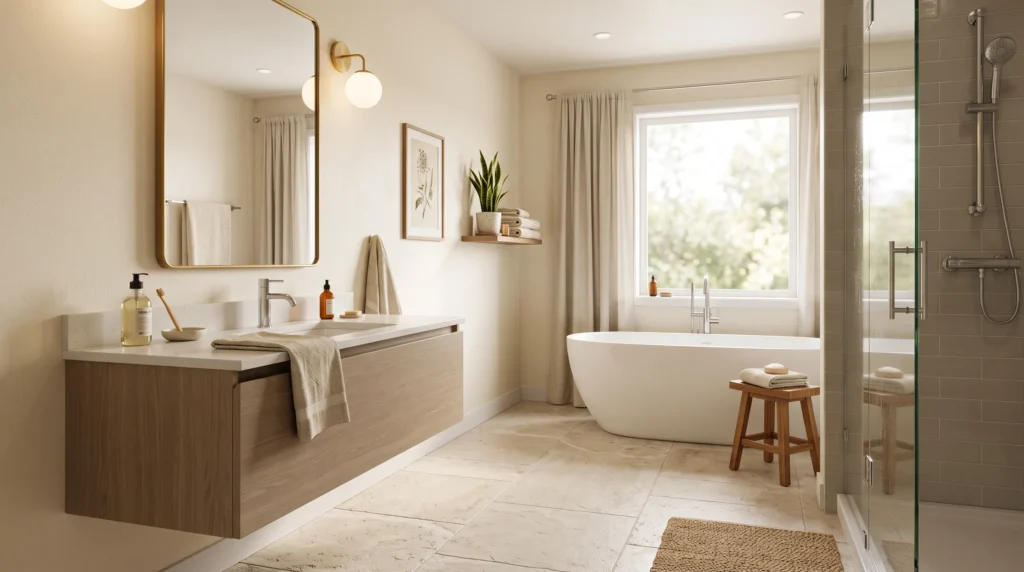
A warm neutral palette is the foundation almost every spa-inspired bathroom is built on, and it’s usually the first thing to change if a bathroom feels cold, clinical, or dated. Instead of stark white or cool gray, look at warm white, soft beige, greige, taupe, and pale sand tones for walls, tile, and larger surfaces. These shades reflect light gently rather than harshly, which makes even a small, windowless bathroom feel more open and less sterile.
The trick to getting this right is restraint. Pick one dominant neutral and let it anchor the room, then bring in one or two supporting tones through towels, bath mats, and small accessories rather than mixing several competing shades of white. A warm ivory wall paired with sandy stone-look flooring and oatmeal textiles reads as cohesive; the same room with bright white trim, gray tile, and beige towels reads as mismatched.
Neutral bathroom colors also make future updates easier. Because the palette is calm and flexible, you can swap towels, artwork, or a shower curtain seasonally without repainting or retiling. This is one of the most budget-friendly bathroom upgrade ideas available — a gallon of warm-toned paint and a few textile swaps can shift the entire mood of the room in a weekend.
Lighting interacts directly with color temperature here. Warm neutrals paired with cool-toned LED bulbs can look flat or slightly green; pairing them with warm bulbs (discussed more in the lighting section below) brings out the softness the palette is meant to create. Test paint swatches at different times of day, since north-facing bathrooms often need warmer undertones to avoid looking gray, while south-facing rooms can handle slightly cooler neutrals without losing warmth.
Quick tip: Before repainting the whole room, test your chosen neutral on a large poster board and move it around the bathroom for 48 hours. Bathroom lighting — especially vanity bulbs — can shift how warm or cool a color reads compared to how it looked in the store or on a screen.
2. Teak or Bamboo Bath Mat
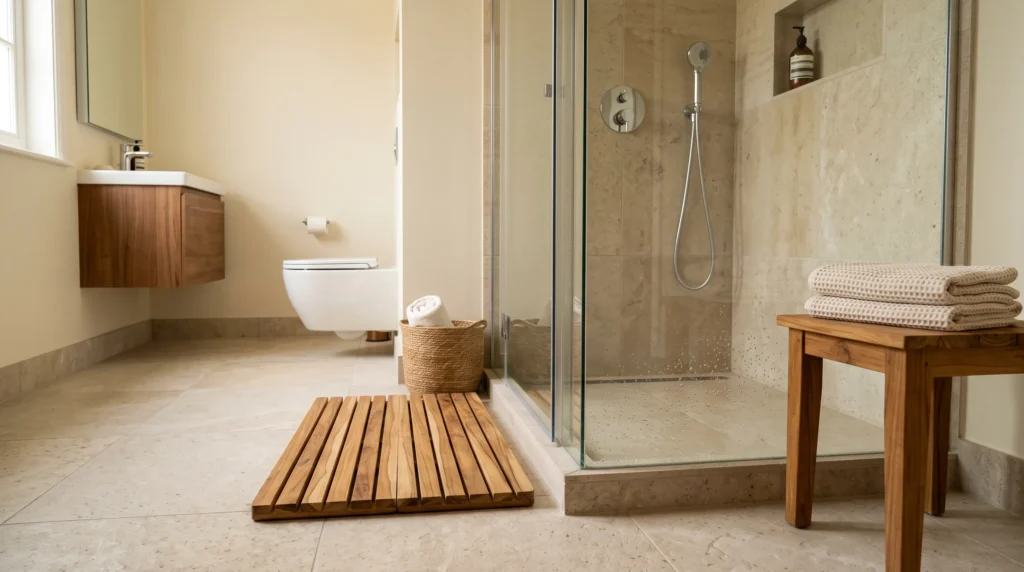
Few materials introduce warmth into a bathroom as quickly as natural wood underfoot. A teak or bamboo bath mat breaks up the visual coldness of tile and porcelain while adding genuine texture you can feel, not just see. Unlike a standard cotton bath mat, wood slat mats are naturally moisture-resistant, quick-drying, and far more durable in a high-humidity environment when properly maintained.
Beyond function, teak accessories are one of the defining features of spa and hotel-style bathrooms because they signal natural materials and quiet luxury without looking overdesigned. Pair a teak mat with a small matching stool, a woven storage basket, and plain cotton towels to keep the material palette from feeling like a themed “spa kit.” The goal is for the wood to feel like it belongs in the room, not like it was added as decoration.
Placement matters more than people expect. A teak mat works best directly beside the shower or tub, where water naturally drains through the slats instead of pooling on a fabric surface. For vanity areas, a smaller bamboo tray can hold soap or skincare products while echoing the same material elsewhere in the room, tying the space together.
Maintenance is simple but shouldn’t be skipped: rinse occasionally, let mats dry fully in an upright position between uses, and apply teak oil periodically if the wood starts to look dull or gray (check the product’s care instructions for recommended frequency). Skipping this step is the most common reason wood bath accessories look worn out within a year. Choose finger-jointed or interlocking slats rather than mats held together with metal hardware, since hardware corrodes fastest in humid bathrooms.
Quick tip: If your bathroom floor is already busy with patterned tile, a plain teak mat is a better choice than a woven or textured one — it adds material contrast without adding another competing pattern.
3. Layered Warm Lighting
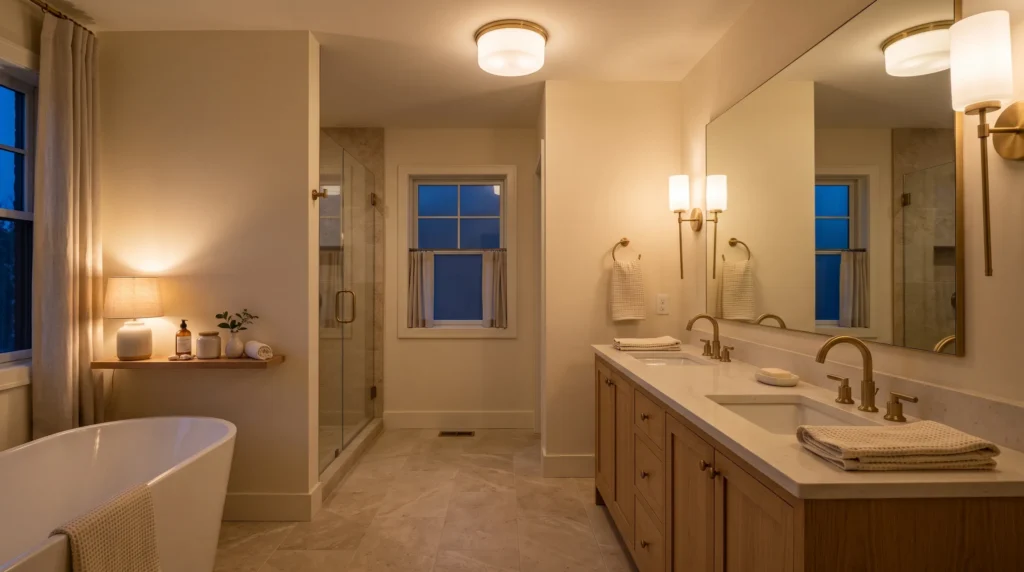
Overhead lighting alone rarely makes a bathroom feel relaxing — it’s usually too bright, too directional, or too cool in tone for anything other than grooming tasks. Spa-inspired bathrooms rely on layered lighting instead: a mix of general, task, and ambient light sources that can be adjusted depending on the time of day and the mood you want.
Start with color temperature. Bulbs in the 2700K–3000K range read as warm and flattering on skin and warm neutral surfaces, while anything above 4000K tends to look clinical, closer to office or hospital lighting. Swapping bright white bulbs for warm ones is one of the cheapest bathroom upgrade ideas available and often makes an immediate difference without touching a single fixture.
Next, add layers. Vanity sconces mounted at eye height on either side of the mirror provide even, shadow-free task lighting for grooming — better than a single bar light above the mirror, which casts shadows downward. A dimmable overhead fixture handles general illumination, while a small plug-in or battery lamp on a dry shelf can add a soft ambient glow for evening baths. If your bathroom has a tub, consider a dimmer switch specifically for that zone so you can lower the light for soaking without losing full brightness for cleaning or maintenance tasks.
Safety matters as much as style in a wet room. Any fixture near a shower or tub needs an appropriate damp or wet-rated classification, and exposed bulbs or cords should never be within reach of water. If rewiring isn’t in the budget right now, battery-operated LED puck lights or a plug-in dimmer for an existing lamp can achieve a similar layered effect without an electrician.
Quick tip: Install your dimmer switch before replacing bulbs — the ability to lower light in the evening does more for the “spa” feeling than the fixture style itself.
4. Natural Stone Accents
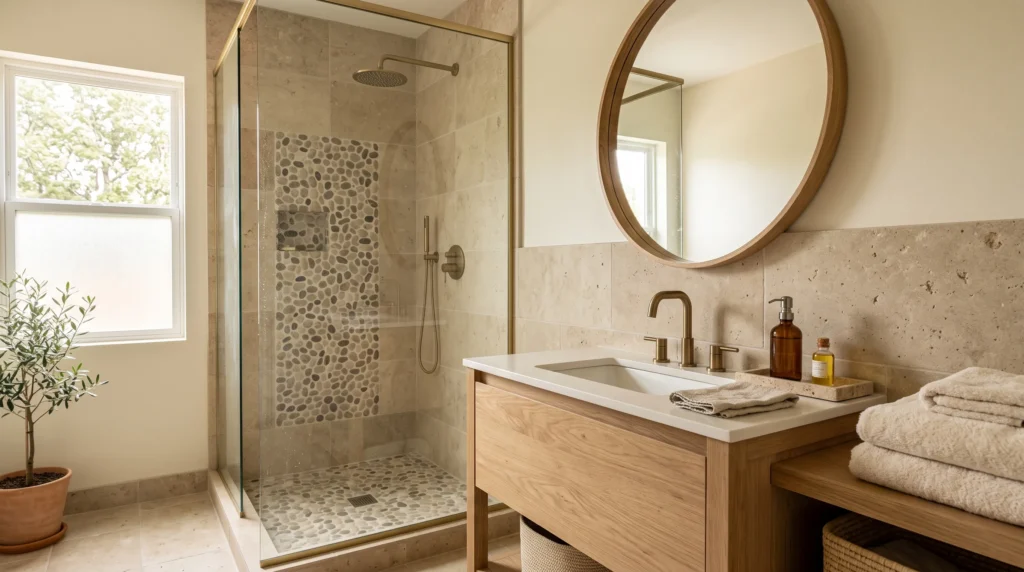
Stone is one of the most reliable ways to connect a bathroom to nature without a full renovation. Limestone-look porcelain tile, travertine trays, pebble flooring inserts, and small stone stools all introduce the visual texture of a spa without requiring real, expensive natural stone throughout the room.
The advantage of stone-look materials is that they’re available in porcelain and composite versions that resist staining, scratching, and water damage far better than natural limestone or marble, which can etch or discolor in humid, high-traffic bathrooms. For a small bathroom spa makeover, a stone-effect accent wall behind the vanity or a pebble tray inside the shower can deliver the same calming, earthy effect as a full stone renovation at a fraction of the cost.
Color plays a big role in how “spa-like” stone accents feel. Warm beige, cream, and soft gray stone tones pair naturally with white fixtures, warm wood, and neutral textiles. Cooler gray or blue-toned stone can work too, but it tends to push the room toward a more modern, minimalist look rather than a warm, relaxing one — worth considering before you commit to a large tile order.
If a full stone floor or wall isn’t realistic, start small: a shallow stone tray beside the sink for soap and skincare, a pebble bath mat insert for the shower floor, or a stone soap dish are all low-cost ways to introduce the material. These small touches pair especially well with greenery and wood accents, since natural materials tend to look best in combination rather than isolation.
Quick tip: Seal any porous natural stone (not composite or porcelain) periodically to prevent water staining — check the stone supplier’s recommended resealing schedule, since it varies by stone type.
5. Plush White or Cream Towels
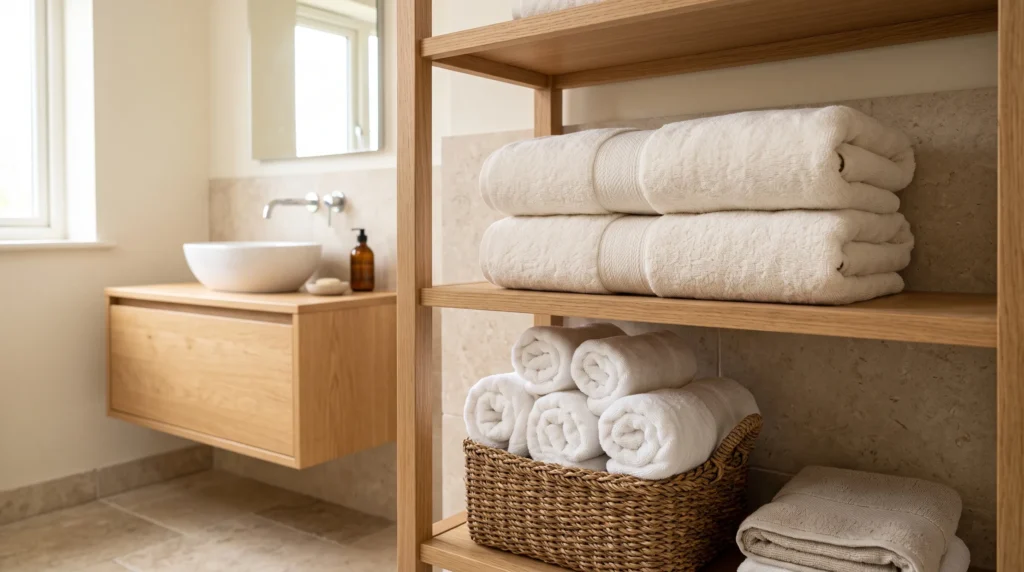
Upgrading your towels is arguably the single highest-impact, lowest-effort change on this entire list. Thick, plush towels in white, ivory, or cream instantly read as clean, fresh, and hotel-quality — even if nothing else in the bathroom changes. Worn, thin, or mismatched towels are one of the fastest ways to make an otherwise well-designed bathroom feel neglected.
Look for a higher GSM (grams per square meter) rating when comparing towels — generally, the higher the number, the plusher and more absorbent the towel will feel, though very heavy towels can also take longer to dry. Combed or Turkish cotton tends to hold up better over repeated washes than standard cotton-poly blends, which can flatten and lose softness within months.
Styling matters as much as the towels themselves. Roll hand towels and stack bath towels neatly in a basket or on open shelving rather than folding them flatly into a closed cabinet — visible, well-arranged textiles do more visual work than hidden ones. If your color palette allows, keep the towel colors to two shades maximum (for example, white bath towels with one oatmeal hand towel) so the room doesn’t start to look like a linen store display.
Replace towels on a rotation rather than waiting until they’re visibly worn. A simple system — one set in daily use, one drying, one in storage — keeps the bathroom looking consistently fresh without requiring you to buy new towels constantly. This approach also extends the life of each towel, since rotating reduces wear from daily use and harsh drying cycles.
Quick tip: Avoid fabric softener on towels — it coats the fibers and actually reduces absorbency over time. Use a splash of white vinegar in the rinse cycle every few washes instead to keep towels soft and absorbent.
6. Floating Vanity
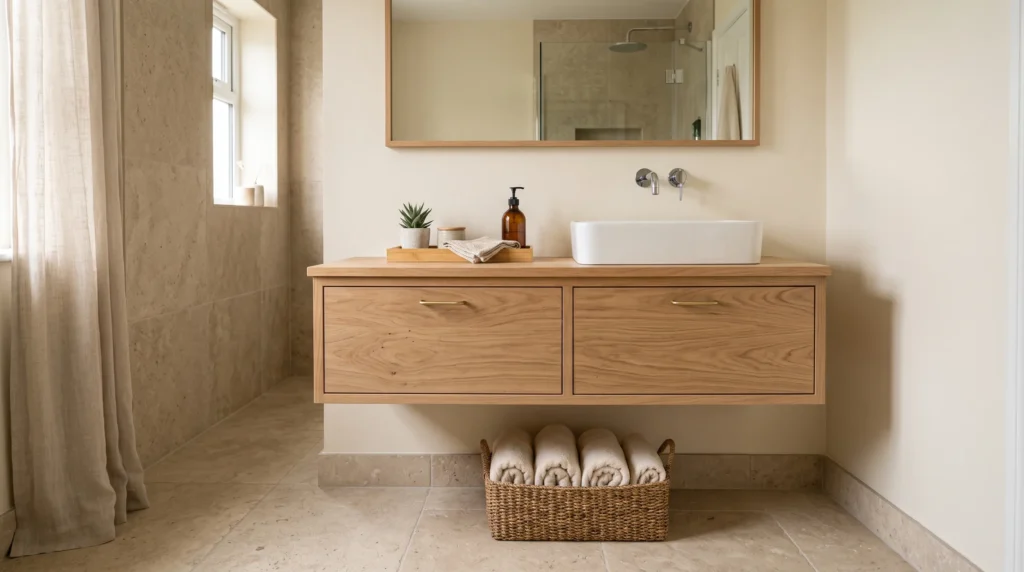
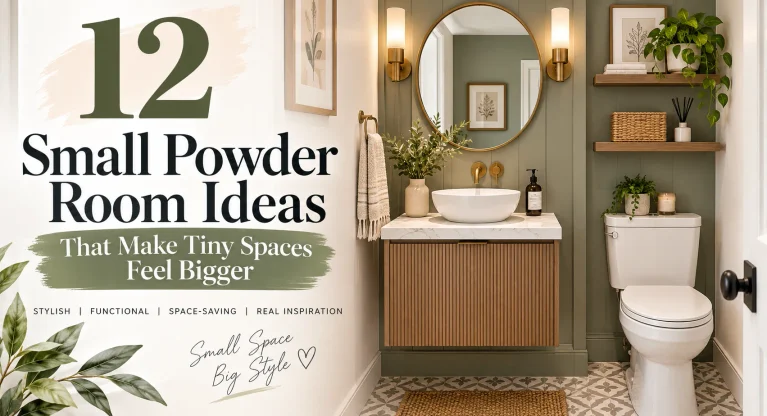
A floating (wall-mounted) vanity is one of the most effective bathroom upgrade ideas for making a room feel larger without changing its footprint. Because the cabinet doesn’t touch the floor, more of the tile is visible, sightlines extend further across the room, and the whole space reads as more open — a meaningful difference in small or narrow bathrooms where every inch of visual space counts.
Beyond the visual benefit, floating vanities also make cleaning significantly easier, since there’s no gap beneath a traditional cabinet where dust, hair, and moisture collect. This is a practical, not just aesthetic, upgrade — something worth mentioning if you’re trying to justify the cost of a renovation to a partner or landlord.
Material choice sets the tone. Light oak or warm walnut reads as natural and warm; matte white or soft gray reads as clean and modern; either works within a spa-inspired scheme as long as the rest of the room supports it. Pair the vanity with a simple, undermount or vessel basin rather than an ornate one, and keep the countertop largely clear — one tray for daily essentials is usually enough.
If a full vanity replacement isn’t in the budget, some manufacturers offer floating cabinet “legs” or wall-mount kits that convert an existing base cabinet, though this depends heavily on your plumbing configuration and should be checked by a professional. Underneath a floating vanity, a slim woven basket can hold spare towels or toiletries, preserving the open, airy look from the front while still providing storage.
Quick tip: Confirm your wall’s structural support (studs or blocking) before installing a floating vanity — this is a weight-bearing installation, and manufacturer specifications on maximum load should always be followed.
7. Rainfall Showerhead
Swapping a standard showerhead for a rainfall model is one of the most affordable ways to make a daily routine feel noticeably more luxurious. The wider spray pattern and typically lower water pressure per point create a gentler, more even flow that feels closer to standing under warm rain than a narrow, forceful jet — a small sensory change that has an outsized effect on how “spa-like” a shower feels.
Before buying one, it’s worth checking your home’s water pressure — rainfall showerheads rely on decent pressure to feel satisfying, and homes with weaker pressure will get better results from a model designed specifically for low-pressure systems.
A ceiling-mounted rainfall showerhead delivers the most dramatic “waterfall” effect but usually requires plumbing work. A wall-mounted rainfall head with an extended arm is a much simpler swap and still delivers most of the sensory benefit without the extra installation effort.
For everyday practicality, many homeowners pair a rainfall showerhead with a secondary handheld attachment, so they can switch to a targeted spray for rinsing or cleaning while keeping the immersive rainfall option for regular showers. Match the finish — brushed nickel, matte black, chrome, or brushed brass — to your other bathroom hardware for a cohesive look.
Quick tip: Clean mineral buildup from the nozzle holes every few months with a vinegar soak — this is what keeps a rainfall showerhead performing well long-term, especially in hard water areas.
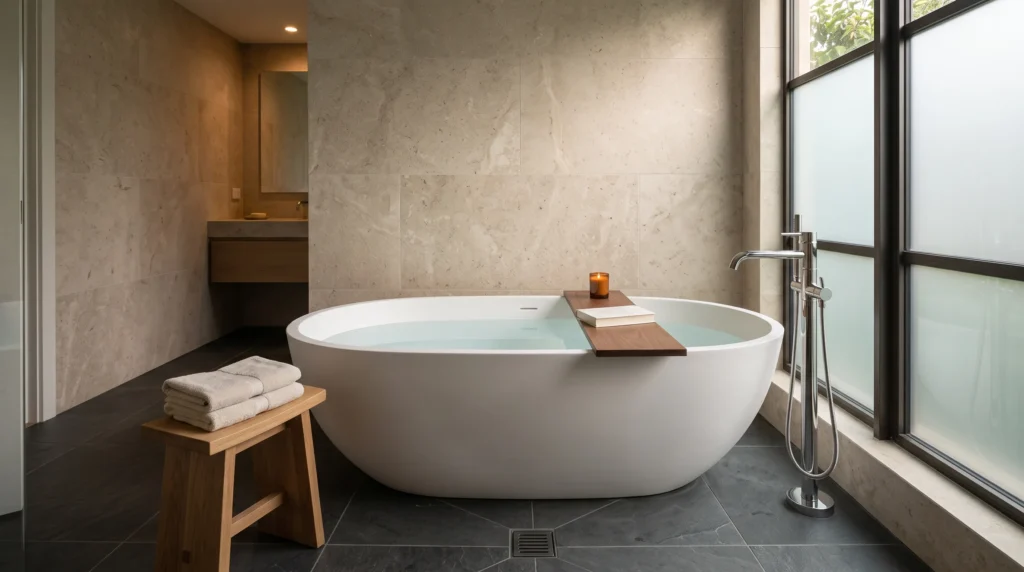
8. Freestanding Soaking Tub
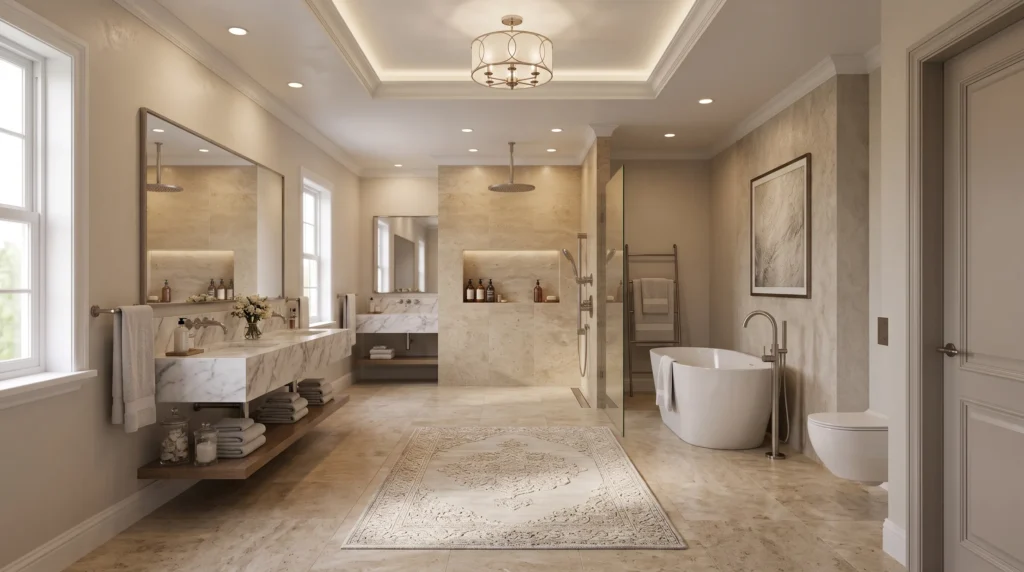
A freestanding soaking tub is the single most dramatic focal point you can add to a bathroom, and it does most of the visual work on its own — which means the rest of the room can stay simple. Its sculptural shape draws the eye immediately, so overcrowding the area around it with decor usually works against the effect rather than enhancing it.
Depth and shape matter more than overall size for the “soaking” experience. A tub with a steep backrest angle and generous water depth will generally feel more relaxing than a shallow, standard tub, even if the shallow tub is physically larger. Japanese-style soaking tubs, which are deeper and more compact, are a strong option for smaller bathrooms that still want the freestanding-tub effect without the footprint of a traditional oval tub.
Before purchasing, confirm four things with a contractor or plumber: doorway and stairwell clearance for delivery, floor load capacity (a filled tub with an occupant can weigh several hundred pounds), existing or required plumbing location, and drain placement. These four checks prevent the most common and expensive installation mistakes.
Style the surrounding area minimally: a narrow wooden stool for towels, a slim bath tray across the tub for a candle or book, and simple, uncluttered wall tile. Avoid lining the tub’s edge with multiple bottles or decorative objects, which undercuts the clean, spa-like silhouette that makes a freestanding tub feel special in the first place.
Quick tip: If your water heater struggles to fill a deep soaking tub at a consistent temperature, a tankless or supplemental water heater upgrade is often necessary — factor this into your renovation budget before installation, not after.
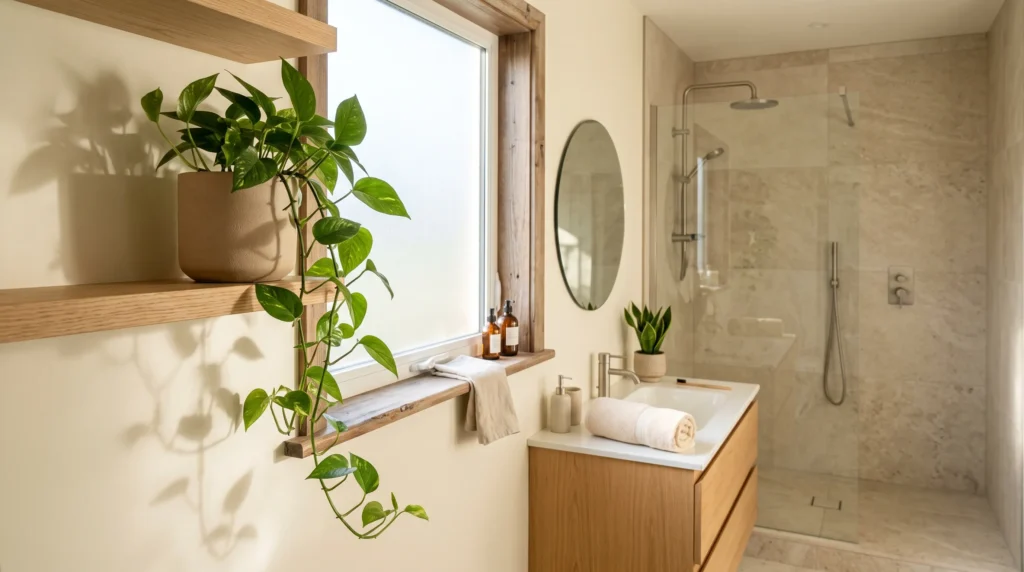
9. Soft Greenery and Plants
Living plants do something no decorative object can: they visibly respond to their environment, which makes a bathroom feel alive and cared-for rather than static. Even one well-placed plant can soften a room dominated by hard, reflective surfaces like tile, glass, and chrome.
Bathroom conditions — high humidity, variable light, and temperature swings — actually suit certain plants better than the rest of the house. Pothos, snake plants, ZZ plants, and Boston ferns are commonly recommended for bathrooms because they generally tolerate low or indirect light and humidity well, making them more forgiving choices for a windowless or low-light bathroom than flowering plants, which typically need more direct sun. Check the specific care needs for your climate before choosing, since light and humidity tolerance can vary by variety.
Placement should work with your light source, not against it. A trailing plant on a high shelf or ledge near a window catches indirect light while adding vertical greenery without taking up counter or floor space — ideal for small bathrooms. If your bathroom has no natural light at all, choose an artificial plant with a realistic matte finish rather than forcing a living plant to survive in an unsuitable spot; a well-made faux plant will look better long-term than a struggling real one.
Container choice ties the greenery into your existing material palette. Matte ceramic, terracotta, or woven planters in neutral tones support a natural, spa-like look better than glossy or brightly colored pots. Keep plants away from direct shower spray, since constant water contact (as opposed to humidity) can damage leaves and cause root rot in pots without adequate drainage.
Quick tip: Wipe plant leaves down every few weeks with a damp cloth — dust buildup blocks light absorption and is one of the most common reasons bathroom plants slowly decline.
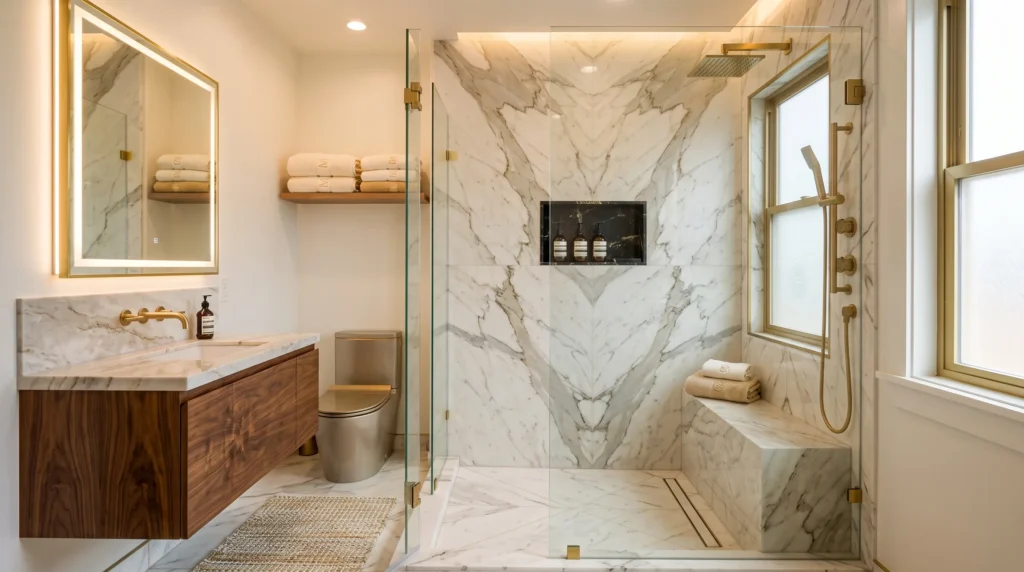
10. Walk-In Glass Shower
Replacing a shower curtain or framed enclosure with a frameless walk-in glass shower is one of the most effective ways to make a small bathroom feel significantly larger. Because there’s no visual barrier or heavy curtain, the eye travels uninterrupted across the entire room, and both natural and artificial light spread more evenly rather than being blocked by fabric or a frosted panel.
Frameless glass (thick tempered glass with minimal or no metal framing) gives the cleanest look and pairs especially well with large-format tile, since fewer grout lines and less visible hardware keep the whole space feeling streamlined. Semi-frameless options, which use minimal metal support at structural points, offer a similar look at a lower cost if a fully frameless installation isn’t in budget. Ask your installer about the recommended glass thickness for your specific enclosure size and layout.
Function should guide the layout as much as appearance. A recessed shower niche keeps bottles out of the main sightline through the glass — critical, since a walk-in glass shower makes clutter far more visible than a curtained one ever did. A built-in bench, whether a full ledge or a fold-down seat, adds practical seating without introducing extra furniture into the room.
Maintenance is the main tradeoff of glass showers: water spots and soap scum show clearly on clear glass. A squeegee used after every shower, combined with a monthly deep clean using a vinegar-based solution, keeps glass looking polished. If low-maintenance is a priority, ask about hydrophobic or easy-clean glass coatings, which are increasingly common and significantly reduce spotting.
Quick tip: If privacy near a window or shared wall is a concern, choose lightly textured or reeded glass rather than fully frosted glass — it preserves more light transmission while still obscuring direct visibility.
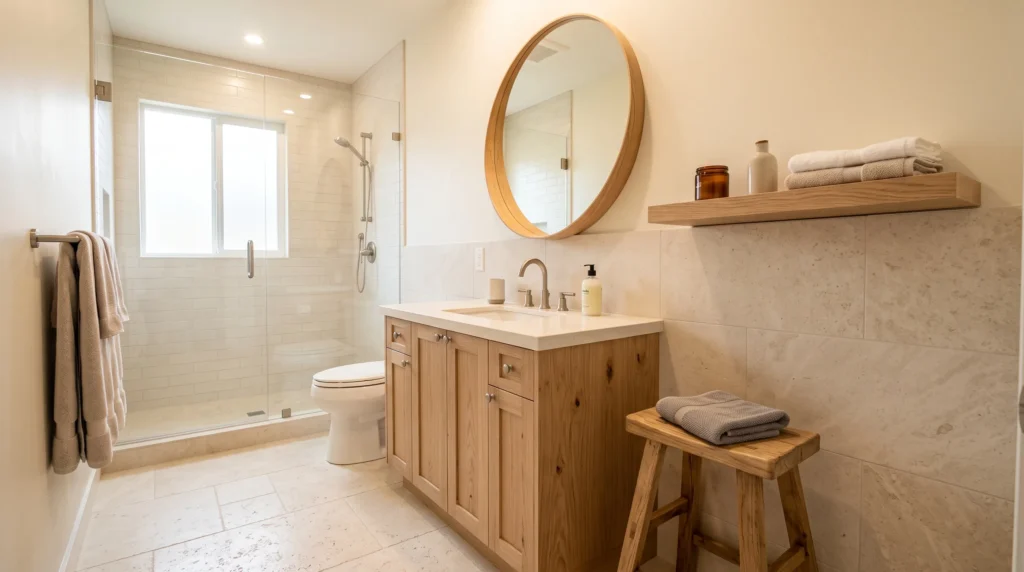
11. Organic Wood Accents
Wood accents do for the rest of the bathroom what a teak bath mat does at floor level: they soften hard surfaces and introduce warmth without changing the room’s structure. A light oak floating shelf, a framed wood-edged mirror, or a small slatted storage cabinet can shift a bathroom’s entire tone from clinical to inviting.
Because bathrooms are humid environments, not every wood product is appropriate. Look specifically for pieces labeled bathroom-safe, marine-grade sealed, or made from naturally water-resistant species like teak, cedar, or properly treated oak. Untreated or decorative wood not designed for humidity will warp, crack, or develop mold over time — a common and avoidable mistake.
Consistency matters more than quantity here. Repeating the same wood tone across two or three accessories — a shelf, a mirror frame, and a small stool, for example — creates a cohesive, intentional look. Mixing several different wood tones (a yellow-toned pine shelf next to a dark walnut vanity) tends to look accidental rather than styled, even if each piece is attractive on its own.
If your existing vanity is already wood, the easiest approach is to match new accessories to that existing tone rather than introducing a second wood type. For bathrooms with no existing wood at all, start with one anchor piece — usually a shelf or mirror frame, since both are visible without adding bulk — before layering in smaller accessories like a soap dish or tray.
Quick tip: Reapply sealant or teak oil to wood accessories periodically in high-humidity bathrooms; this single step prevents most warping and graying issues before they start.
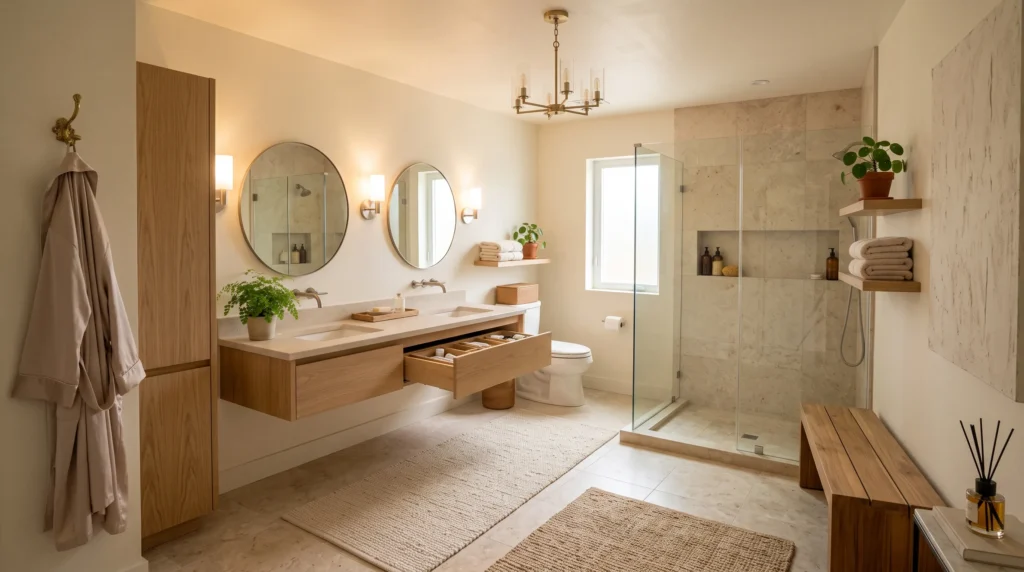
12. Minimalist, Organized Storage
Visual clutter is the fastest way to undo every other spa-inspired change on this list — no amount of warm lighting or plush towels will make a bathroom feel calm if the counter is covered in half-used product bottles. Minimalist storage isn’t about owning fewer things; it’s about giving everything a designated, mostly hidden home.
Start with what’s already built in: vanity drawers, recessed medicine cabinets, and under-sink cabinetry should handle the bulk of daily-use items. Drawer dividers or small trays inside cabinets prevent the “junk drawer” effect and make items easier to find, which in turn makes it easier to keep surfaces clear day to day.
For open storage — shelves or baskets meant to be seen — be selective. Reserve visible space for a small number of attractive, purposeful items: folded towels, one plant, a simple tray. Everyday products like shampoo, cleanser, or floss are better stored inside cabinets or a shower niche, even if that means transferring a few items into matching refillable containers.
Small bathrooms benefit most from vertical thinking. A narrow shelf above the toilet, a recessed niche built into a stud wall, or an over-the-door organizer can add meaningful storage without consuming floor space. Woven baskets soften open shelving and hide contents from direct view while still keeping items accessible — a good middle ground between fully open and fully closed storage.
Quick tip: Do a five-minute product audit monthly — expired skincare, empty bottles, and duplicate products are the biggest silent contributors to bathroom clutter, and removing them takes less time than most people expect.
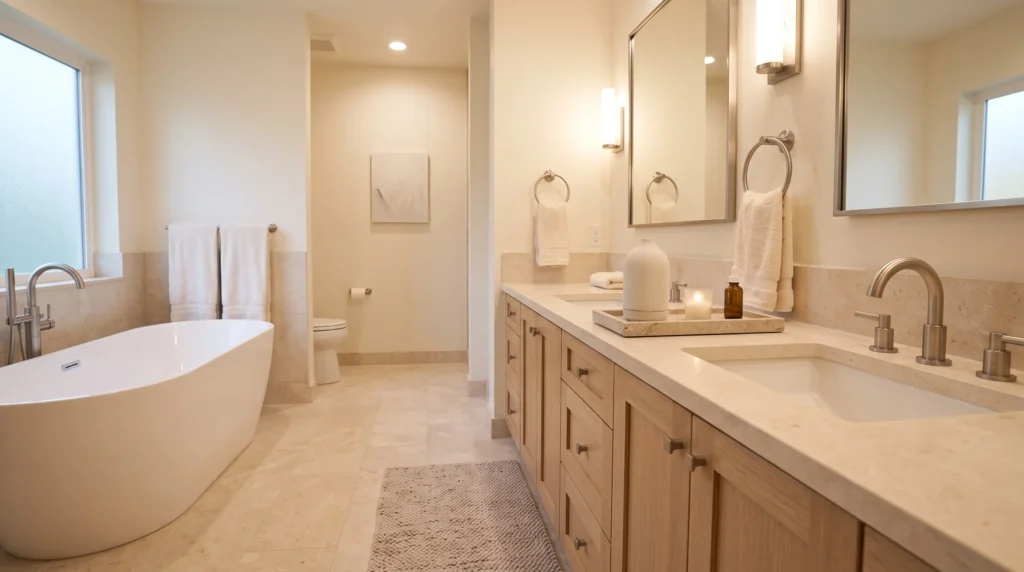
13. Aromatherapy and Sensory Details
Scent is an underused tool in bathroom design, largely because it’s easy to overlook when planning a visual space. A small, dedicated aromatherapy corner — a candle, a reed or electric diffuser, and one or two skincare items on a simple tray — adds a sensory layer that visual changes alone can’t replicate.
Keep the display restrained: one tray, one scent source, and minimal additional items. A cluttered “spa corner” with multiple candles and several diffuser bottles tends to undercut the calm effect it’s meant to create. Choose a tray material (wood, ceramic, or stone) that matches materials already used elsewhere in the room, so the aromatherapy corner feels integrated rather than added on.
For safety and practicality, an electric or ultrasonic diffuser is often a better choice than an open flame in a bathroom, particularly in households with children, pets, or anyone sensitive to fragrance. If candles are preferred, choose a covered or enclosed design, place it well away from towels or water spray, and never leave it burning unattended.
Scent choice should support relaxation rather than overwhelm the senses — lavender, eucalyptus, and sandalwood are common choices specifically because they’re associated with calm rather than energizing or food-associated scents like citrus or vanilla, which can feel out of place in a bathroom setting. Rotate scents seasonally if you want variety without needing to buy new decor.
Quick tip: Ventilation matters more than scent strength — even a subtly scented diffuser can feel overwhelming in a small, poorly ventilated bathroom, while the same scent works well in a larger or better-ventilated space.
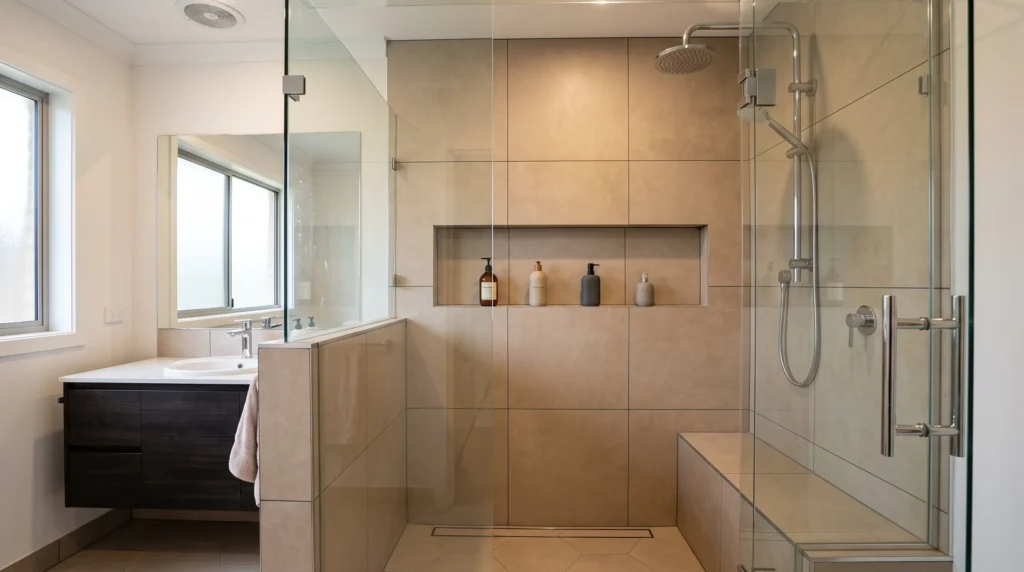
14. Spa-Style Shower Niche
A recessed shower niche solves one of the most common clutter problems in any bathroom: bottles lining the tub edge or balanced on a corner caddy. Built directly into the wall during construction or renovation, a niche keeps everyday products contained, organized, and out of the main sightline — especially important if you’ve also invested in a frameless glass shower, where every surface is visible.
Sizing depends on what you actually use. A single horizontal niche about 12–16 inches wide comfortably fits three to four standard bottles; a taller vertical niche with a middle shelf works better for households with more products or multiple users. Measure your actual bottles before finalizing niche dimensions — a common renovation mistake is building a niche too shallow or too narrow for real-world use.
Tile choice inside the niche should generally coordinate with, rather than contrast, the surrounding shower walls. A niche lined in the same tile as the rest of the shower reads as an intentional architectural feature; a mismatched accent tile can look like an afterthought unless that contrast is a deliberate design choice.
If you’re not renovating and a built-in niche isn’t possible, a freestanding corner shelf or hanging caddy in a matching finish can achieve a similar organizational benefit without construction. Look for models with drainage holes or slight tilts to prevent water pooling, which causes rust on metal caddies and mildew on non-draining shelves.
Quick tip: Waterproofing is critical for a built-in niche — always confirm your contractor is using a proper waterproof membrane behind the niche, not just tile and grout, to prevent water damage inside the wall cavity.
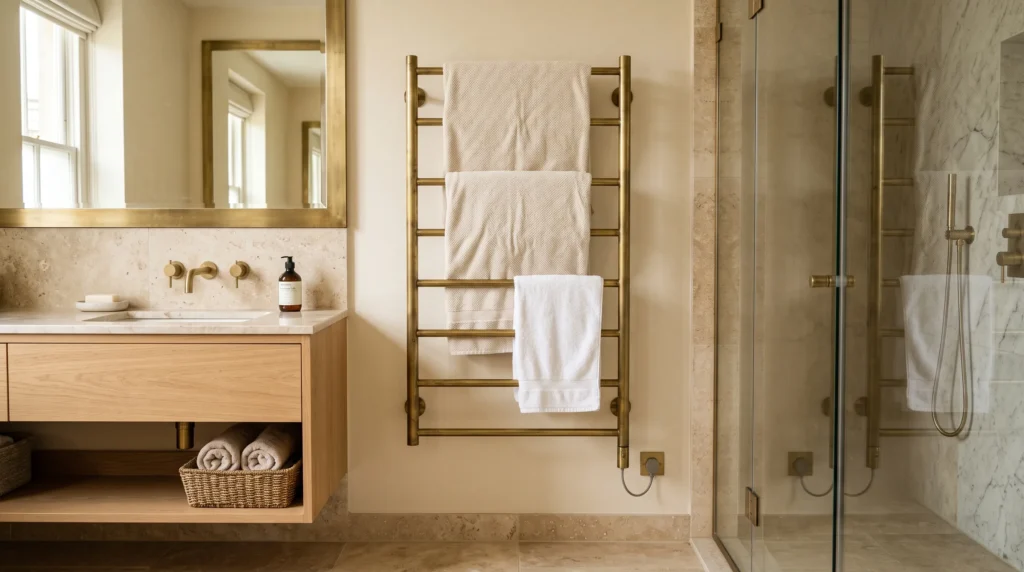
15. Heated Towel Rack
A heated towel rack is a small investment that delivers a genuinely luxurious daily experience — stepping out of the shower to a warm towel is one of the few upgrades on this list that you feel immediately, every single day, rather than simply seeing. Wall-mounted rail versions are especially practical in smaller bathrooms since they don’t consume floor space the way a freestanding rack would.
Two main types are available: hardwired electric models, which require professional installation and connection to your home’s electrical system, and plug-in models, which are far simpler to install but need a nearby outlet. Hydronic models, which connect to a home’s hot water or central heating system, are also available but are typically only practical during a larger renovation.
Always check your local electrical codes and buy fixtures rated for bathroom use — a qualified electrician can confirm what’s appropriate and safe for your specific setup near a wet area. This is one upgrade where it’s worth getting professional advice rather than cutting corners.
Style-wise, choose a finish that matches your existing hardware (shower fixtures, faucet, cabinet pulls) rather than treating the towel rack as a separate decision. Hang two or three neatly folded towels rather than filling every rung, which keeps the rack looking intentional and photo-ready rather than like an overflow storage spot.
Quick tip: Look for a model with a built-in timer function — running a heated rack continuously wastes energy, while a timer lets you schedule warmth for the times you actually use the bathroom, like mornings and evenings.
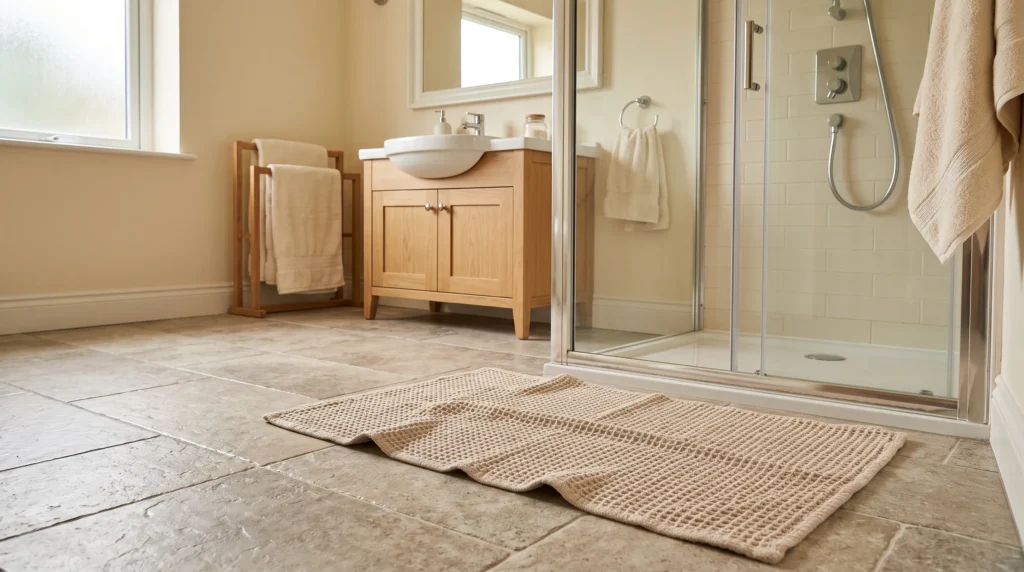
16. Soft, Textured Bath Mat
Beyond the wood bath mat covered earlier, a soft textile mat plays a different but complementary role — it’s the piece you actually stand on barefoot, and its texture affects comfort as much as appearance. Plush cotton, waffle-weave, and chenille are the three most common textures for this purpose, each offering a different balance of softness, drying speed, and visual weight.
Waffle-weave mats dry fastest, making them a practical choice for humid bathrooms or households with several daily showers. Chenille and plush cotton feel softer underfoot but hold more moisture and take longer to dry, so they’re better suited to bathrooms with good ventilation or households where the mat isn’t in near-constant use.
Color and pattern should support your existing palette rather than compete with it. A mat in a slightly darker neutral than your towels adds subtle definition to the floor; a mat that closely matches the walls or tile can help a small bathroom feel more visually continuous and larger. Avoid heavily patterned mats in an otherwise calm, neutral bathroom — the pattern will read as the loudest element in the room, working against the restful effect you’re going for.
Backing material matters for safety and floor protection. Choose a mat with a non-slip, breathable backing rather than a solid rubber backing, which can trap moisture against tile or vinyl flooring and lead to mildew underneath over time. Wash mats weekly according to their care label to prevent bacterial buildup, especially in humid climates.
Quick tip: Rotate between two mats on a wash schedule rather than owning just one — this ensures you always have a dry, fresh mat available and extends the usable life of each one.
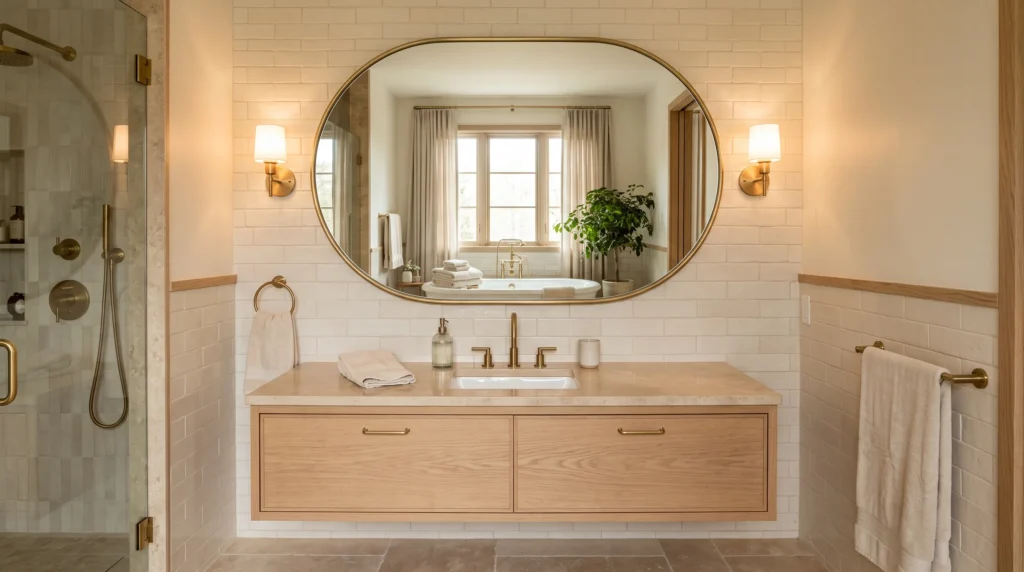
17. Curved or Statement Mirror
A mirror swap is one of the fastest, least disruptive ways to change a vanity’s entire character, and a curved silhouette — round, oval, or softly arched — does more visual work than a standard rectangular mirror. Rounded shapes soften the straight lines already present in tile, cabinetry, and countertops, which is part of why curved mirrors read as more calming and less clinical.
Sizing is the most common mistake homeowners make with this upgrade. A mirror that’s too small for the vanity looks awkward and unfinished; the general guideline is to choose a mirror roughly 70–80% of the vanity’s width, leaving balanced wall space on either side. For double vanities, either one large mirror spanning both sinks or two matching smaller mirrors both work, depending on whether you want a unified or symmetrical look.
Frame material should echo something else already in the room. Brushed brass or gold pairs naturally with warm wood and cream tile; matte black works well in a more modern, high-contrast neutral scheme; a frameless beveled mirror keeps things minimal and works in almost any palette. Avoid introducing a brand-new metal finish that doesn’t appear anywhere else in the bathroom, since mismatched hardware finishes are one of the more common styling missteps in bathroom design.
Positioning affects both function and mood. Mount the mirror so the center sits roughly at eye level for the primary user of that vanity, and pair it with sconces at the same height on either side rather than relying solely on overhead light, which can cast unflattering shadows across the face.
Quick tip: In a small bathroom, an oversized round mirror can make the room feel noticeably larger by reflecting more light and floor space back into view — don’t be afraid to size up if wall space allows.
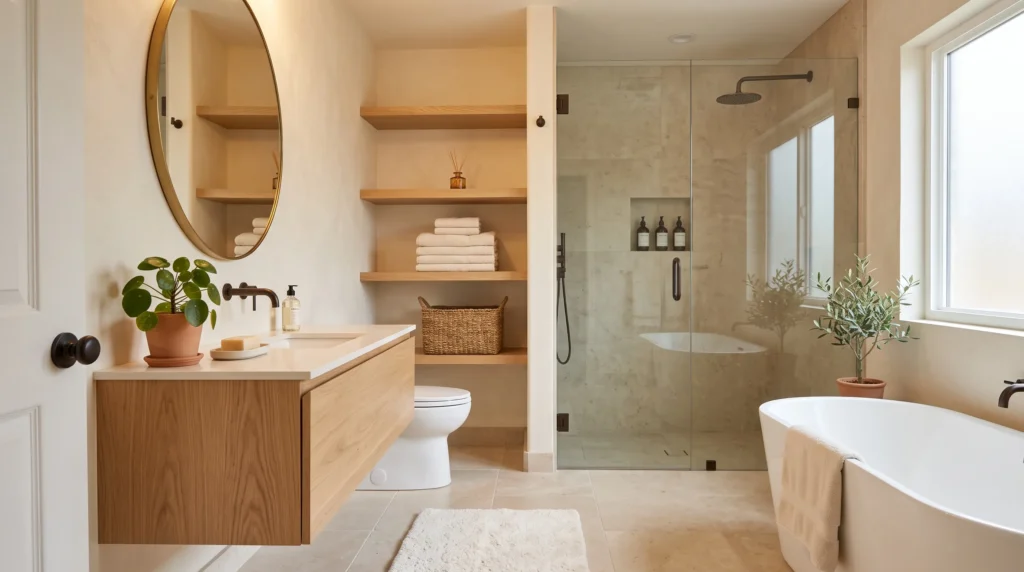
18. Final Layer: Editing and Styling Everything Together
The last step in any spa-inspired bathroom isn’t adding more — it’s editing what’s already there so every element supports the same calm, cohesive feeling. This is often the difference between a bathroom that has “nice things in it” and one that actually feels like a retreat: restraint, not accumulation.
Start by auditing what’s currently visible on every surface. Countertops, shelves, and the shower ledge should each have a clear purpose — displaying something intentional (a plant, a tray, folded towels) or storing something functional and out of sight. If a surface has more than three or four visible items, it’s usually a sign that storage needs to absorb some of that clutter rather than the surface needing more decor.
Material and color consistency matter more than any single item on this list. A bathroom with warm wood, cream textiles, and soft stone will feel cohesive even with relatively few decor pieces, while a bathroom with wood, black metal, colorful ceramics, and patterned textiles all competing for attention will feel busy no matter how nice each individual piece is. When adding something new, ask whether it matches materials or tones already present before introducing a new one.
Prioritize changes based on what you interact with daily, not what photographs best. Fresh towels, a decluttered counter, and warmer lighting are used and felt every single day; a statement bathtub is beautiful but used far less often. Budget and effort spent on daily-use details typically delivers more lasting satisfaction than one dramatic, expensive centerpiece.
Quick tip: Once your bathroom feels right, take a photo. It’s much easier to spot clutter creep or mismatched additions in a photo than in the room itself over time — use it as a benchmark to maintain the look.
Conclusion – Bathroom Decor Ideas
Creating a spa-like bathroom is less about any single purchase and more about layering warmth, natural texture, soft lighting, and restraint into a space you already have. Start with one change that fits your current budget and routine — new towels, warmer bulbs, or a decluttered counter — and build from there as time and budget allow. Small, consistent upgrades, applied thoughtfully, add up to a bathroom that feels genuinely calming every time you use it, not just on the day you finish decorating it.
Save this list to your Bathroom Ideas board on Pinterest so you can revisit it whenever you’re ready to tackle the next upgrade, and share it with a friend who’s planning a bathroom refresh of their own. Which idea are you trying first?
How can I make my bathroom feel like a spa without a full renovation?
Focus on layered warm lighting, plush new towels, decluttered surfaces, and one or two natural-material accents like a wood bath mat or stone tray. These changes require no construction and can be done in a single weekend.
What colors make a bathroom feel like a spa?
Warm neutrals — soft white, beige, greige, taupe, and sand tones — are the most reliable spa-inspired bathroom colors. They reflect light gently and pair well with natural materials like wood and stone.
What is the cheapest way to upgrade a small bathroom?
New towels, a rainfall showerhead attachment, warm-toned light bulbs, and a decluttered vanity top are the lowest-cost, highest-impact changes, typically achievable for well under the cost of any renovation.
Do I need real wood and stone, or can I use imitation materials?
Porcelain and composite materials that mimic natural stone, along with sealed engineered wood, hold up better in humid bathrooms than many natural materials and are widely used in professional spa-bathroom design for that reason.

One Comment